How to Use an AI Virtual Headshot for Business Success (2025)
How to Use an AI Virtual Headshot for Business Success (2025)
If you work online, your headshot is often the first thing people see before they read a single word of your profile or website. The problem? Most people either use a random selfie, an outdated office photo, or spend hundreds on a studio session they only use on LinkedIn.
An AI virtual headshot fixes that, but only if you treat it as part of your overall business and branding workflow—not just a quick picture swap.
In this guide, you’ll learn a practical, end‑to‑end workflow for using AI virtual headshots across your business: from choosing styles per role (founder, sales, creator), to rolling out consistent team photos, handling privacy, and even A/B testing results—using HeadshotVIP as the main example.

What Is an AI Virtual Headshot (and Why It Matters for Business)?
An AI virtual headshot is a professional portrait generated from your selfies using artificial intelligence. Instead of going to a studio, you upload 1–10 everyday photos and get back a set of AI-generated headshots tailored for business use.
Unlike simple filters or face-smoothing apps, modern AI professional headshot tools can:
- Clean up lighting and shadows
- Replace cluttered backgrounds with office, studio, or on‑brand colors
- Adjust framing and sharpness
- Keep your identity consistent across multiple images
For business owners, teams, and freelancers, that means you can:
- Give your entire team a uniform virtual business headshot look
- Update photos instantly when people change roles or styles
- Align portraits with your brand colors and target audience
- Test what kind of photo actually gets more clicks or replies
Most tools you’ll find (like Canva or HeadshotPro) focus on the generation step. In this article we’ll zoom out and show you the full workflow—from planning styles to measuring results—with concrete examples of how that works in HeadshotVIP.
Step 1: Define Your Business Use Cases and Visual Rules
Before you open any LinkedIn headshot generator alternative, decide where and how you’ll use your AI virtual headshots. This is what separates random “nice photos” from business assets.
1.1 Map Your Use Cases
List all the places where a professional headshot shows up in your business:
Personal:
- LinkedIn profile and banner
- CV / resume
- Portfolio or personal website
- Speaker bios, podcast appearances
Company:
- “About” / Team page
- Email signatures
- Pitch decks and investor docs
- Press kit and PR features
- Internal tools (Slack, Notion, HR systems)
For each use case, note whether you want the tone to be:
- Corporate (law, finance, enterprise sales)
- Startup / tech (modern, casual‑formal)
- Creative (design, content, coaching)
- Executive (board, C‑level, investors)
This will steer your choices later in HeadshotVIP.
1.2 Set Simple Brand Rules for Headshots
Create a one‑page “Headshot Style Guide” you can reuse for yourself and your team. Keep it simple:
Backgrounds
- Primary: e.g., light gray or soft gradient in your brand color
- Secondary: office/city background for speakers and founders
Framing
- Head and shoulders, eyes approx. 1/3 from top
- Centered, not heavily angled
Dress Code
- Founders / execs: blazer or smart top, no loud patterns
- Sales / CS: approachable business‑casual
- Creators / marketing: relaxed but polished, on‑brand colors
Expression
- Default: slight smile, friendly, eyes toward camera
- Exec profile: calm, confident; still approachable
You can write this as plain text, or turn it into a short PDF you later share with new hires.
Step 2: Prepare the Right Input Photos (This Makes or Breaks AI Results)
All three top tools in search results (Canva, HeadshotPro, etc.) say the same thing in their FAQs: the quality of your AI-generated headshot depends heavily on the photos you upload. HeadshotVIP is no different.
Here’s how to get the best base selfies in 5–10 minutes.
2.1 Capture “AI-Friendly” Selfies
Use your phone (rear camera if possible) and follow these rules:
Lighting
- Stand facing a window with soft natural light
- Avoid strong backlight (window behind you) or downlighting (ceiling lights)
- No harsh shadows across half your face
Background
- Plain wall if possible (white, gray, or neutral)
- Avoid busy bookshelves, posters, or messy rooms
Framing and Angle
- Frame head and shoulders, leave some space above your head
- Camera roughly at eye level
- Look straight at the camera; avoid extreme side angles
Expression and Accessories
- Relaxed, neutral or slight smile
- Avoid sunglasses, heavy hats, or anything blocking your face
- If you always wear glasses professionally, keep them on in most photos
2.2 Provide Variety While Staying “You”
To help the AI learn your identity accurately, mix things up slightly:
- 3–5 photos in different outfits
- 2–3 photos in slightly different lighting or rooms
- A couple of mild angle variations (straight, slight left/right)
What you don’t need:
- 50+ selfies (older tools demanded that; newer engines like HeadshotVIP use fewer, better photos)
- Heavily filtered images
- Group photos (crop them only if your face is clear and well‑lit)
Step 3: Generate Your AI Virtual Headshots with HeadshotVIP (Recommended)
Now you have a style guide and solid input photos. Here’s how to turn that into a complete set of AI professional headshots using HeadshotVIP.
Method 1: Using HeadshotVIP (Recommended)
Use Case:
Professionals, founders, and teams who want studio‑quality, LinkedIn‑ready and website‑ready headshots quickly—without a physical photo shoot—while keeping a consistent style across platforms and people.
Operation Steps
Go to HeadshotVIP
- Open: https://headshot.vip
- Create an account with your work email so you can later manage results and, if needed, add team members.
Choose the Right Plan
- Starter – if you just need a few solid LinkedIn and CV photos
- Professional – if you want multiple styles (LinkedIn, website, speaking, creative)
- Team / Business – if you plan to roll out consistent AI headshot generation for teams
Tip: For founders or people in visible roles, the Professional tier usually pays off because you’ll want different “looks” for different channels.
Upload Your Selfies
- Follow the on‑screen guidance for:
- Minimum resolution
- Number of photos
- Avoiding blurry or underexposed images
- Upload the 6–10 best selfies you prepared in Step 2.
- Check that your face is clearly visible in every upload.
- Follow the on‑screen guidance for:
Pick Your Business Styles
HeadshotVIP includes multiple business‑focused style presets. For example:- LinkedIn / Corporate – neutral or gradient background, business‑formal outfit
- Startup / Tech – modern office or soft color background, smart‑casual attire
- Executive – darker tones, sharper lighting, more formal styling
- Creator / Personal Brand – slightly more relaxed, warmer colors
Start by selecting:
- 1–2 styles for LinkedIn and resume
- 1 style for your website “About” section
- 1 style for email signatures
Generate Your AI Virtual Headshots
- Click “Generate” and let the AI process your photos.
- Depending on your plan, you’ll receive a batch (e.g., 30–70+) of AI-generated headshots.
- While generation times differ between tools, HeadshotVIP is optimized to return results fast enough to update all your profiles the same day.
Review, Shortlist, and Download
- Mark your favorites by use case:
- “LinkedIn Primary”
- “CV”
- “Website Team Page”
- “Speaking / Press”
- Download high‑resolution versions suitable for:
- LinkedIn (square crop)
- CV PDFs
- Website (larger landscape or portrait crops)
- Mark your favorites by use case:
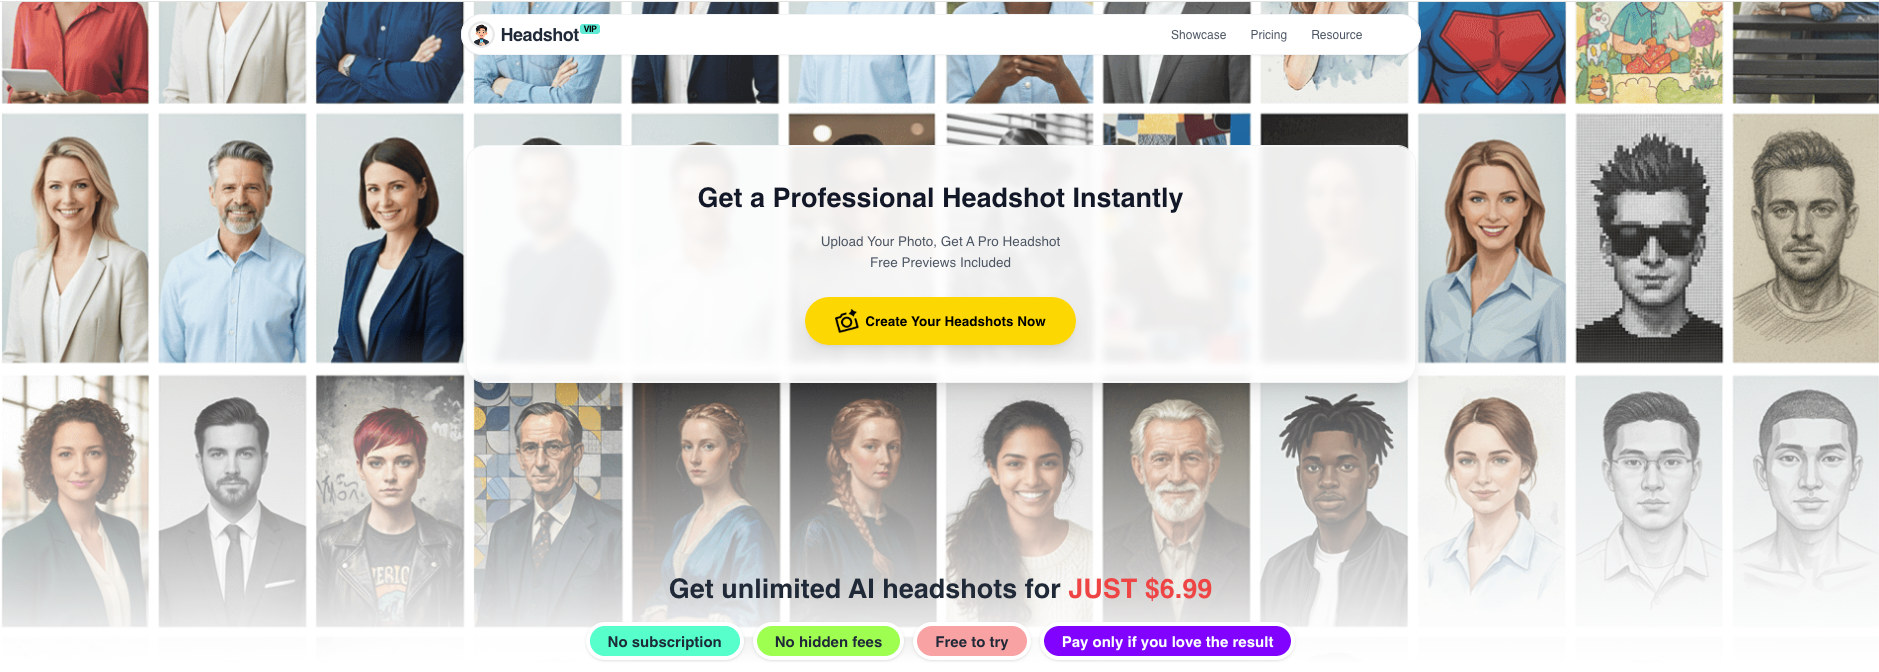
Alt: HeadshotVIP AI virtual headshot generator interface showing business styles and results
Advantages of HeadshotVIP for Business Use
✅ Business‑focused styles
Tuned specifically for LinkedIn, resumes, websites, and executive use—not just social avatars.✅ Consistent look across platforms
Output ratios and framing are optimized for profiles, “About” pages, and email signatures, so your image feels the same everywhere.✅ Team‑ready generation
Style‑consistent batch generation for teams means you can set one look and apply it to 5 or 500 people.✅ Identity consistency modeling
Advanced facial recognition keeps you looking like you across multiple poses and outfits, avoiding the “who is that?” AI problem.✅ Privacy‑focused processing
Images are processed with privacy in mind; no unnecessary data sharing, and files are handled specifically for professional use (not ad‑training).
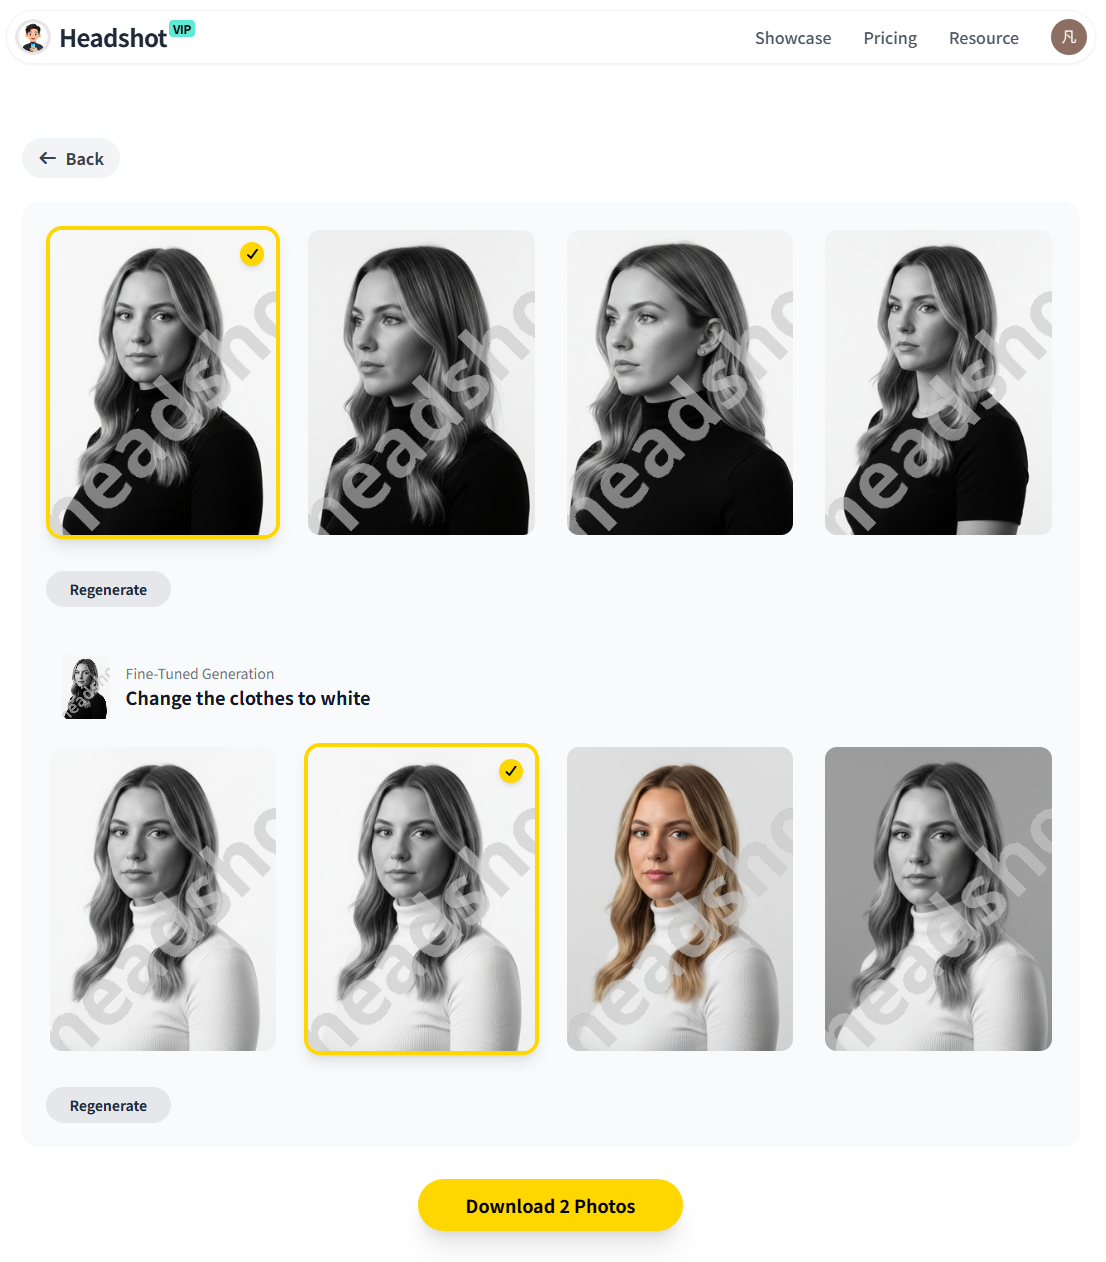
Alt: HeadshotVIP AI virtual business headshot results in different styles for LinkedIn and websites
Method 2: Other AI & Virtual Headshot Options (and How They Compare)
If you’re researching alternatives, you’ll likely run into:
- Canva’s AI headshot generator – integrated into their design suite
- HeadshotPro – high‑volume AI headshot generator focused on realism and packages
- Manual virtual headshot services (like Headshots.com) – not AI, but remote human retouching based on a DIY photo
Here’s how these approaches stack up against a dedicated business tool like HeadshotVIP.
2.1 Canva AI Headshot Generator
Canva lets you upload a selfie and convert it into a more polished headshot, right inside its design editor.
Pros:
- Built into a platform you may already use for presentations and posts
- Easy to add text, graphics, and use the headshot in designs
- Offers some free credits
Cons (vs. HeadshotVIP):
- Not focused specifically on virtual business headshots; more general design‑oriented
- Limited control over business‑specific styles (e.g., “executive vs. creator”)
- No dedicated workflow for team consistency or admin dashboards
- Fewer controls around identity consistency across larger batches
2.2 HeadshotPro and Similar AI Generators
Tools like HeadshotPro are strong on raw AI quality and speed, with lots of backdrops and outfits.
Pros:
- Wide range of outfits and backdrops
- Strong realism; some results are nearly indistinguishable from studio photos
- Clear pricing tiers and quick turnaround
Cons (vs. HeadshotVIP):
- Very broad focus (individuals, influencers, etc.), less opinionated around B2B branding workflows
- You’ll still have to manually decide how to align styles per role and channel
- Limited explicit guidance on company‑wide implementation (brand rules, cross‑platform usage)
2.3 Non‑AI Virtual Headshots (e.g., Headshots.com)
These services use real human editors to retouch a photo you take yourself.
Pros:
- True‑to‑life, non‑AI result (some organizations prefer that for now)
- Human eye on retouching; can be great if you want a single, “perfect” shot
- Strong consistency when you follow their shooting guide
Cons (vs. HeadshotVIP):
- Usually slower and more expensive per person than AI
- You get fewer variations (often just 1–3 final images)
- Scaling to large teams or frequent updates gets costly
- Less flexibility for quickly testing different styles or backgrounds
Step 4: Roll Out Consistent AI Virtual Headshots Across Your Business
Once your own photos look great, it’s time to extend the workflow to your team.
4.1 Create a Simple Headshot Rollout Plan
For a small business or startup, you can cover this in one email or short Notion page:
- Goal – e.g., “By the end of Q1, all team members will have a consistent, professional virtual business headshot for LinkedIn, our website, and email signatures.”
- Style Guide Summary – paste the one‑pager you created in Step 1.
- Tool – specify HeadshotVIP and share a join link if you’re using the Team / Business plan.
- Timeline – set a clear deadline (e.g., 2 weeks for uploads, 1 week for selection and implementation).
- Where It Will Be Used – website, LinkedIn, internal tools.
4.2 Use HeadshotVIP for Team Consistency
With HeadshotVIP’s team features, you can:
- Configure one shared style (background, framing, dress level) for the entire company or department.
- Invite team members by email to upload their selfies.
- Generate style‑consistent AI virtual headshots for everyone.
For remote or globally distributed teams, this replaces the high coordination overhead you’d face with local photographers.
Tip: Decide whether leadership needs slightly different styling (e.g., more formal background for exec bios) while still matching the broader brand.
4.3 Standardize File Naming and Storage
To avoid chaos later:
- Store headshots in a shared drive or DAM tool with a simple naming convention:
firstname-lastname-linkedin.jpgfirstname-lastname-website.jpgfirstname-lastname-email-signature.png
- Keep an internal sheet listing:
- Which photos are used where
- Date of last update
- Any special notes (e.g., “speaker bio version with dark background”)
Step 5: Implement and A/B Test Your AI Headshots Across Platforms
Most guides stop once your headshot looks good. To turn images into business results, you should measure what works.
5.1 Update All Key Touchpoints
Systematically replace old photos:
LinkedIn
- Upload your chosen “LinkedIn Primary” headshot
- Ensure the crop keeps your eyes around the top third
- Optionally set a matching banner with your branding
Website & Landing Pages
- Update team bios and founder sections
- For conversion‑focused pages (sales, booking, demos), use your most friendly, trustworthy shot
Email & Outreach
- Add a small, clear headshot in:
- Email signatures
- Sales sequences (e.g., in tools like HubSpot, Outreach, or Lemlist)
- Customer success introductions
- Add a small, clear headshot in:
Pitch Deck & Press Kit
- For fundraising or partnerships, keep a consistent headshot across the deck, one‑pager, and press PDF.
5.2 A/B Test Your Headshot Performance
You don’t need fancy tools to test what kind of headshot performs best.
Here are simple experiments:
LinkedIn Profile Photo Test
- Run one headshot for 2–4 weeks, then switch to another.
- Track:
- Profile views
- Connection requests
- InMail or DM reply rate on outreach messages
Sales / Outreach Email Test
- In your cold email or demo outreach, use:
- Version A: more formal headshot
- Version B: slightly more relaxed, friendly headshot
- Measure open‑to‑reply conversion over ~100–200 contacts per variant.
- In your cold email or demo outreach, use:
Landing Page Conversion
- For founder‑led brands, test:
- Headshot A on your booking page
- Headshot B on a duplicate variant
- Compare booking or lead form completion rate.
- For founder‑led brands, test:
Record your results and then update your Headshot Style Guide based on what performs, not just what looks nice.
Step 6: Legal, Ethical, and Privacy Considerations for AI Virtual Headshots
When using AI for something as personal as your face, it’s smart to think about privacy, consent, and transparency—especially for teams.
6.1 Data and Privacy
Before committing to any provider, check:
What happens to uploaded photos?
- Are they stored long‑term or deleted after processing?
- Are they used to train unrelated models or sold to third parties?
Ownership
- Do you (or your company) hold full rights to use the AI images commercially?
HeadshotVIP is built with privacy‑focused image processing and professional use in mind: input selfies and generated images are handled specifically for your account, not for ad training or unrelated datasets.
For extra assurance, you can also reference external resources like the EU AI Act overview or your local data protection guidance.
6.2 Team Consent and Transparency
When you’re rolling out AI headshot generation for teams, it’s good practice to:
- Inform employees that:
- You’re using an AI virtual headshot tool
- They can opt to use a real photo instead if policy allows
- Clarify where their headshots will appear (public vs. internal)
- Allow reasonable requests for changes or re‑generation if someone is uncomfortable with a result
6.3 Authenticity and Misrepresentation
An AI virtual headshot should still be recognizably you.
Avoid:
- Drastic changes to facial structure, skin tone, or age
- Using AI versions of people who no longer work for your company
- Presenting a heavily fictionalized image in contexts that demand strict identity accuracy (e.g., legal, medical)
HeadshotVIP’s modeling prioritizes identity consistency and professional realism, but you still control which images you publish.
Quick Comparison: Common Solutions vs. HeadshotVIP
Here’s a simplified comparison of typical options you’ll encounter:
| Feature / Need | Canva AI Headshot | Generic AI Generator (e.g., HeadshotPro) | HeadshotVIP |
|---|---|---|---|
| Focus on business branding workflow | ❌ Mainly design‑oriented | ⚠️ Partially | ✅ Yes |
| Styles tuned for LinkedIn / CV / websites | ⚠️ Basic options | ✅ Many, but broad | ✅ Business‑specific |
| Team / company‑wide consistency tools | ❌ No | ⚠️ Limited | ✅ Style‑consistent team generation |
| Optimized output for LinkedIn & resumes | ⚠️ You configure manually | ⚠️ Requires manual export/cropping | ✅ Preset formats and ratios |
| Identity consistency across many images | ⚠️ Varies | ✅ Strong | ✅ Strong |
| Privacy‑focused professional usage | ⚠️ General platform | ⚠️ Varies by provider | ✅ Core design goal |
| Ideal for | Designers, social posts | Individuals and some teams | Professionals, founders, teams |
Practical Tips for Better AI Virtual Headshots
To wrap the workflow into some quick, repeatable habits:
Refresh every 12–18 months
When your look changes (hair, glasses, style), regenerate a batch so your online presence stays current.Keep 3 “tiers” of formality
- Very formal (board/executive, investor decks)
- Medium formal (LinkedIn, website team page)
- Casual‑professional (social posts, newsletters, personal brand content)
Document your choices
Once you know which styles and backgrounds convert better, write it down. Use the same decisions for new hires or new channels.Avoid over‑editing
If a result looks too “plastic” or not like you, don’t use it—even if it’s technically flattering. Long term, trust and recognizability matter more than perfection.
Summary
An AI virtual headshot isn’t just a quick profile picture hack—it’s a flexible, scalable way to bring professional, on‑brand visuals into every corner of your business: LinkedIn, resumes, websites, email, decks, and more.
The workflow that works best in 2025 looks like this:
- Define where you’ll use your photos and set simple visual rules.
- Capture a small set of high‑quality selfies with good light and clear framing.
- Use a business‑oriented tool like HeadshotVIP to generate tailored, consistent AI professional headshots.
- Roll them out across your personal profiles and team assets.
- A/B test different styles and keep what performs best.
- Handle privacy, consent, and authenticity thoughtfully—especially for teams.
HeadshotVIP is designed around this exact workflow: fast generation, business‑ready styles, and team consistency, backed by privacy‑conscious processing.
Try HeadshotVIP Now:
- Starter: $6.99
- Professional: $9.99
Related Articles
- ai-professional-headshot-branding-guide-2025
- how-to-use-ai-professional-headshots-for-business-profiles-2025
- ai-headshot-generation-privacy-protection-guide-2025
Current Date: 2026-01-24