AI-generated headshot: 7 tips to look professional (2025)
AI-generated headshot: 7 tips to look professional (2025)
If you’ve tried an AI-generated headshot before, you’ve probably seen both extremes: some images look shockingly good… and others look like a slightly wrong version of you with plastic skin and weird eyes.
That’s not just the tool’s fault.
In 2025, the biggest difference between a cringey AI headshot and a LinkedIn-ready one is how you plan, shoot, upload, and refine your photos—not which generator you pick.
This guide walks you through 7 practical tips to make any AI-generated headshot look professional, realistic, and on-brand, with examples tailored to tools like HeadshotVIP, Canva, and Aragon. Follow these steps and you’ll get AI professional headshots you’re actually proud to use on LinkedIn, your CV, or your portfolio.
What makes an AI-generated headshot “professional” in 2025?
Before we get into the tips, it helps to know what “professional” actually means in the age of AI virtual headshots.
Across LinkedIn, corporate sites, and tools like Aragon or Canva, three things consistently stand out:
Realistic likeness
You should still look like you: same face shape, same eye color, same hair texture. Not a smoothed, filtered stranger.Clean, intentional composition
- Framed from chest or shoulders up
- Neutral or simple background
- No clutter, crowds, or heavy props
On-brand styling
The photo should match:- Your industry (law vs. startup vs. creative)
- Your role (intern vs. executive)
- The platforms you use it on (LinkedIn vs. Instagram bio)
Headshot generators like Canva and Aragon highlight these factors, but they rarely show you how to control them. That’s what the next 7 tips cover.
1. Start with the right “training” photos
AI tools can only work with what you give them. Bad input = uncanny output.
Whether you’re using HeadshotVIP, a LinkedIn headshot generator, or any AI professional headshot tool, focus on these basics:
Choose clear, front-facing photos
Upload 6–15 photos that meet as many of these as possible:
- Face fully visible: no sunglasses, masks, big hats, or heavy hair over one eye
- Eye contact: looking towards the camera, not down at your phone
- Minimal filters: avoid heavy skin smoothing or beauty filters—AI often “doubles” them
- Varied but consistent: different angles and expressions, but same person and typical hairstyle
Photos that usually don’t work well:
- Group photos where your face is tiny
- Blurry low-light bar or club photos
- Strong colored lighting (red/blue LEDs, stage lights)
- Extreme angles (shot from far above or below)
Use simple backgrounds and stable lighting
AI is great at replacing backgrounds, but it still needs to see your face clearly.
Aim for:
- Natural light from a window, facing you
- No strong backlight or blown-out windows behind you
- Plain walls or soft indoor backgrounds
If you’re using HeadshotVIP, this matters a lot because the system builds a facial identity model from your uploads. Clean, evenly lit selfies give it the best chance to recreate you accurately and avoid that “this sort of looks like me, but not really” feeling.
2. Dress for the role you actually want
Many AI tools now let you “change clothes” digitally, but you’ll almost always get more realistic results if your uploaded photos already match your target style.
Think of it as “prompting with your wardrobe”.
Match your industry and audience
Use this as a quick guide:
Corporate / Finance / Law
- Dark blazer or suit jacket
- Solid or subtle-pattern shirt/blouse
- Avoid loud colors, big logos, or graphic tees
Tech / Startup / Product
- Smart casual: plain t-shirt + blazer, or simple shirt
- Clean sneakers or shoes if visible
- One or two small accessories at most
Creative / Marketing / Design
- More color and texture is okay
- Interesting but not distracting patterns
- Statement glasses or subtle jewelry can work well
If you’re planning to use a LinkedIn headshot generator, remember: recruiters scan profiles fast. A simple, sharp outfit usually outperforms anything experimental.
Keep it timeless
AI tools (including HeadshotVIP) can generate dozens of outfits, but for your main professional headshot:
- Avoid super-trendy cuts or micro-trends that might age quickly
- Choose solid colors over busy prints
- Stick to 2–3 complementary colors in the frame
If your tool supports it, pick “LinkedIn” or “Corporate” style rather than “Glamour” or “Old Money” packs for your primary business headshot.
3. Nail your pose and expression (before AI touches anything)
Most AI headshot generators still struggle with totally inventing natural poses, especially hands and side profiles. Give them a strong foundation by taking a few intentional “base” selfies first.
Simple posing checklist
When shooting the photos you’ll upload:
- Camera height: at eye level or slightly above (never below chin level)
- Framing: include your shoulders and a bit of chest; don’t crop too tight on the face
- Posture: sit or stand tall, roll shoulders back slightly
- Angle:
- Start with straight-on to the camera
- Add a few slight turns (10–20° left/right) to add variety
If you’re using your phone, prop it on a stable surface or tripod instead of holding it in your hand—this massively reduces weird angles and motion blur.
Practice your “LinkedIn-friendly” expression
You don’t need a perfect “model face”. You need approachable confidence:
Try this sequence:
- Take a normal breath in.
- Exhale slowly and drop your shoulders.
- Think of a recent win or something you’re genuinely proud of.
- Let a small, natural smile form (no forced “say cheese”).
- Slight squint in your eyes (the “smize” effect).
Many AI tools (like Canva’s ProfilePhoto app) even have a “keep original expression” toggle. If yours does, use it with one of your best “confident and relaxed” base photos. HeadshotVIP also tends to maintain micro-expressions better when you upload at least a few shots with the expression you want.
4. Use prompts and style settings strategically
Even if an app looks “one-click”, most modern AI headshot generators give you some control over:
- Background type (office, studio, outdoor, blurred, etc.)
- Outfit style (executive, casual, startup founder, creative)
- Cropping and aspect ratio (LinkedIn, CV, website, square avatar)
That’s essentially prompting with UI.
Example prompt settings for a LinkedIn-ready headshot
In HeadshotVIP or similar tools, you’ll typically pick:
- Style / Use case:
- “LinkedIn” or “Professional business portrait”
- Background:
- Light gray, soft gradient, or blurred office
- Outfit:
- Blazer or smart shirt, neutral colors
- Crop:
- 4:5 or 1:1 with head and upper shoulders visible
If you’re using a tool that allows text-style prompts (or advanced settings), think in terms of what you’d tell a human photographer, for example:
“Professional LinkedIn headshot of a software engineer, neutral gray background, soft studio lighting, natural skin texture, minimal retouching, realistic details.”
Avoid words like “flawless”, “perfect skin”, “beauty filter”, or “airbrushed”—these often push the model into fake, plastic territory.
5. Control lighting and background like a pro
Most top tools (Canva, Aragon, HeadshotVIP, etc.) advertise “studio lighting” and “background replacement”, but the feel of the result is still your call.
Pick lighting that flatters, not flattens
Ask your tool for one of these:
Soft front/side lighting:
Mimics a light source slightly above and to the side—adds dimension to your face.Subtle background blur (bokeh):
Keeps you sharp while making the background less distracting. Tools like Aragon and many photo editors now expose bokeh or “portrait mode” as a setting.
Avoid:
- Harsh, high-contrast lighting with deep shadows on one side of the face
- Unreal neon or highly stylized color lighting for business use
If your AI generator includes an editor (like Aragon’s Bokeh Effect or “Image Tone Editor”), use it to soften the background, not to make your entire face blurrier.
Choose backgrounds that support your story
For a truly professional AI virtual headshot:
- Safe choices:
- Plain white, gray, or off-white
- Very subtle gradient
- Lightly blurred office interior
- Good for specific roles:
- Startup founder: modern office with glass or coworking vibe
- Academic: library or lecture hall cues (still blurred)
- Creative: soft color wash or simple textural background
Steer clear of:
- Stock-photo-cheesy conference rooms
- Overly busy cityscapes
- Obvious AI glitches (warped furniture, fake windows, floating lights)
If the background looks distracting, most editors (including HeadshotVIP-compatible workflows) let you regenerate just the background or swap it with a simpler one.
6. Fix “AI giveaways” with light editing only
Almost every AI professional headshot generator occasionally introduces tiny flaws:
- Slightly off eye shape or color
- Over-smoothed skin
- Strange hair or ear details
- Crooked collars or misshapen jewelry
You don’t have to live with those.
What to check before you download
Go through your favorite 3–5 images and zoom in. Look specifically at:
Eyes:
- Are both pupils aligned?
- Are there any weird reflections or asymmetries?
Teeth and mouth:
- Normal shape, no double teeth or extra gaps?
Hands (if visible):
- Correct number of fingers and natural-looking joints?
Clothing edges:
- No melted collars, strange folds, or half-missing ties?
Tools like Canva’s Magic Eraser, Aragon’s Blemish Remover / Face Restoration, and other AI photo editors can clean up small issues without redoing the entire headshot.
Stick to realistic retouching
For a trustworthy business headshot, it’s better to look like your best day, not a totally different person.
Safe edits include:
- Removing temporary blemishes or pimples
- Reducing shine on forehead or nose
- Smoothing lightly under-eye shadows
- Straightening collars, removing lint or dust
- Adjusting exposure, contrast, and white balance
Avoid:
- Changing your face shape significantly
- Enlarging eyes, shrinking nose, or “beauty filter” style reshaping
- Changing your natural skin tone dramatically
HeadshotVIP purposefully keeps manual retouching lighter than a full beauty app, so your AI-generated headshot stays realistic and aligned with how you appear in interviews or on video calls.
7. Match the crop and format to where you’ll use it
A lot of AI headshots look “off” on LinkedIn or a website because they’re cropped poorly, not because the image itself is bad.
Recommended sizes and crops
For LinkedIn:
- Aspect ratio: 1:1 (square) or 4:5 (vertical)
- Your face should fill about 60–70% of the frame
- Leave a bit of space above your head—don’t crop at the hairline
For CVs / resumes:
- Smaller size, often top-right of the first page
- Neutral background and less dramatic blur
- 4:5 or slightly more vertical crop
For company websites / About pages:
- Check your company’s style:
- Some prefer round avatars
- Others want consistent rectangular headshots with matching backgrounds
- Tools like HeadshotVIP are built to keep team style consistent across multiple people: same crop, same background, similar lighting.
Export with the right quality
Where possible, export:
- High-resolution JPG or PNG (most tools, including Canva and Aragon, support this)
- At least 800px on the short edge for web
- Avoid repeatedly re-saving compressed images (that can introduce artifacts)
HeadshotVIP optimizes output for LinkedIn and CVs by default, so you don’t have to manually guess the right resolution or ratio.
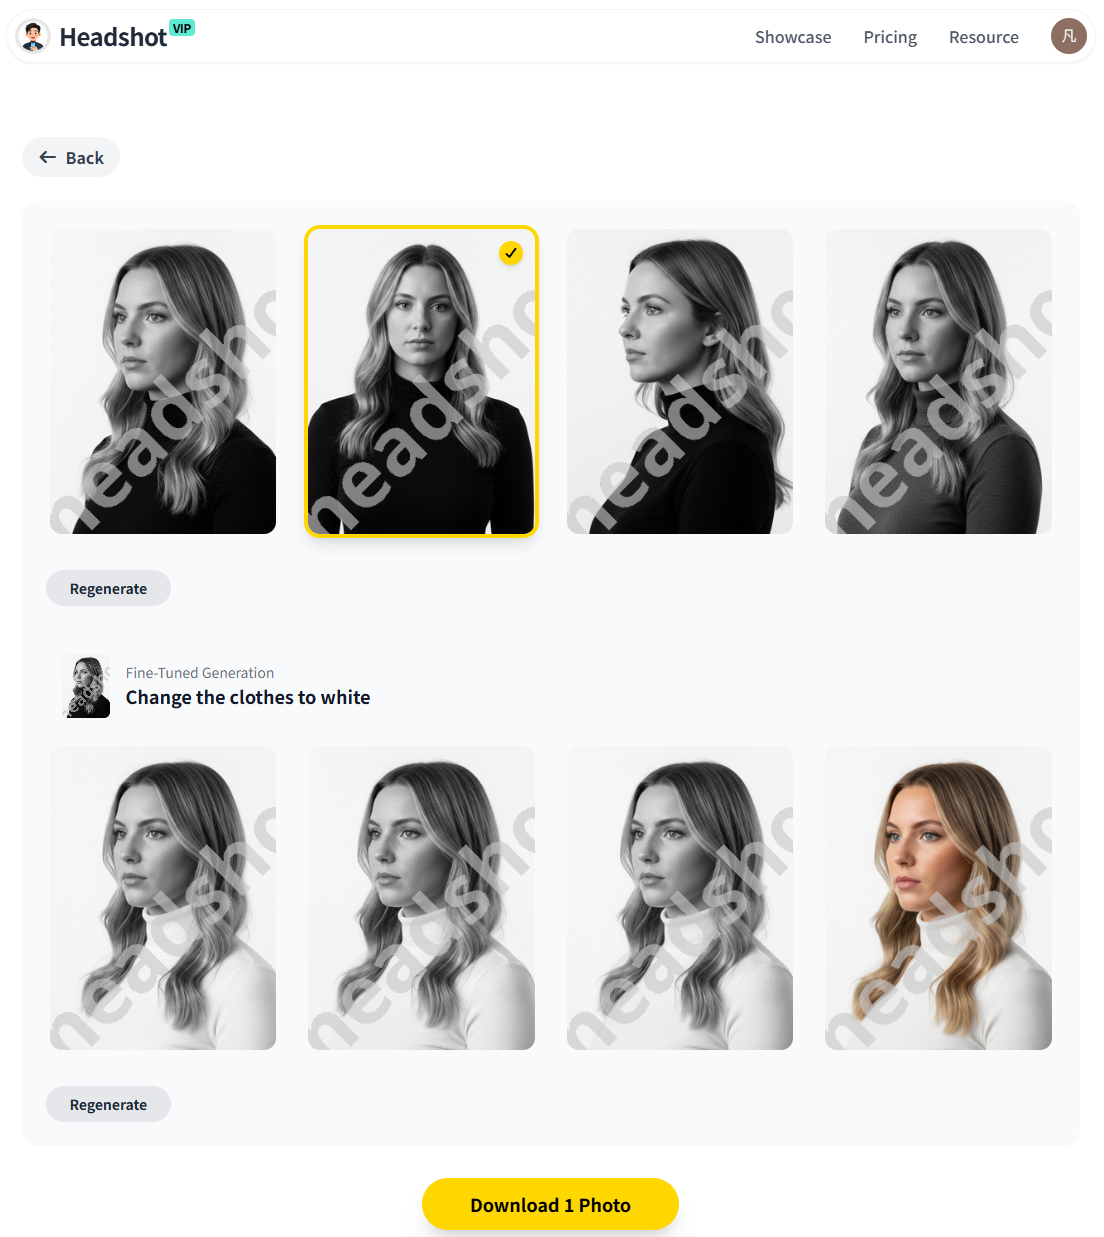
How to get a professional AI-generated headshot with HeadshotVIP (step-by-step)
Method 1: Using HeadshotVIP (Recommended)
Use Case:
Professionals, job seekers, founders, freelancers, and teams who want fast, realistic, business-focused AI headshots for LinkedIn, resumes, and company websites—without learning complex settings.
Operation Steps:
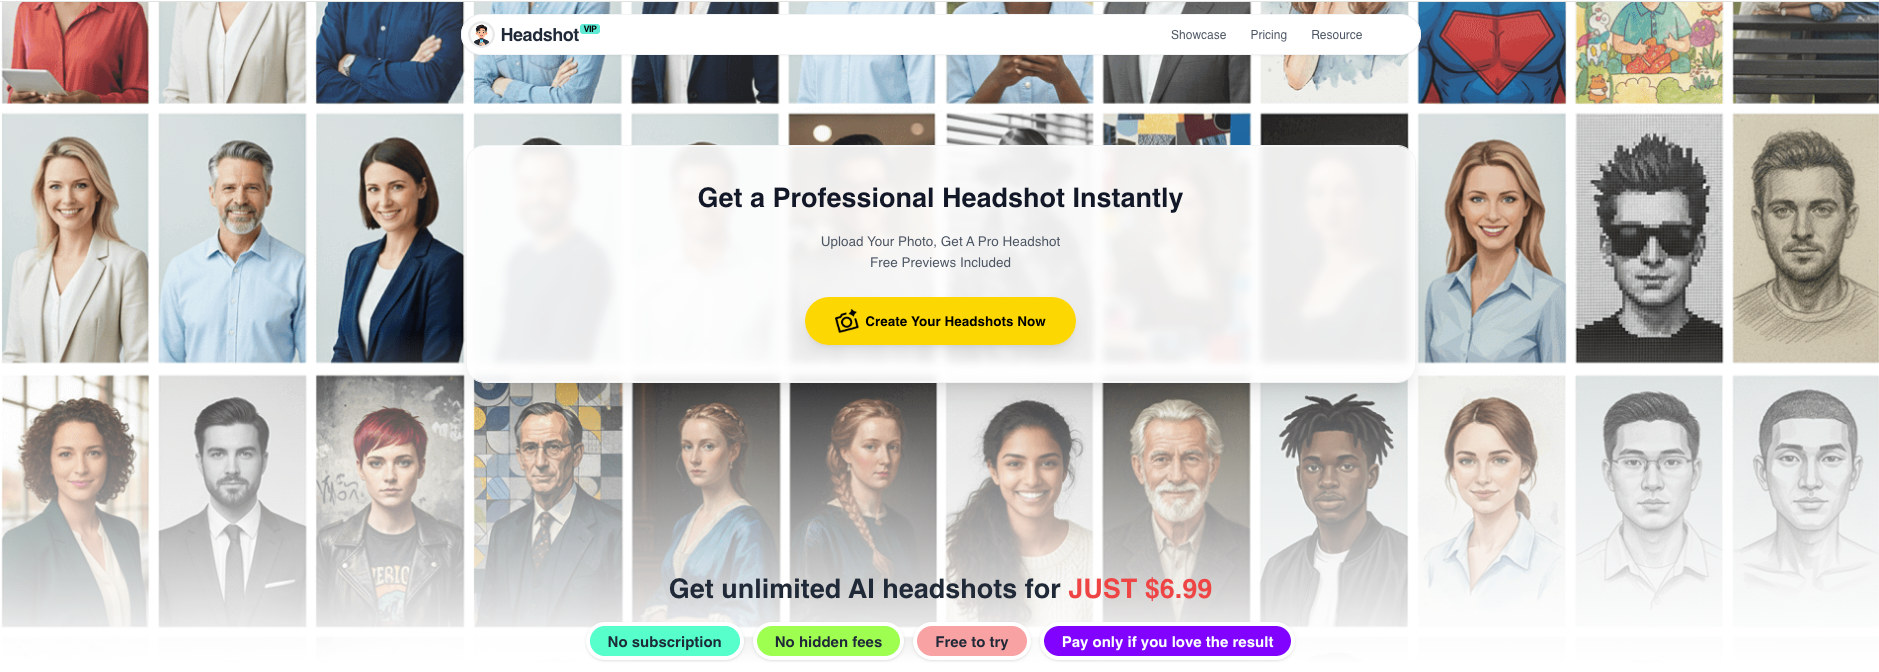
Go to HeadshotVIP
Visit the official site: https://headshot.vipChoose your plan
- Starter: ideal if you just need 1–2 strong LinkedIn headshots
- Professional: more styles and higher-resolution images
- Team / Business: for consistent headshots across your whole team
Prepare and upload your photos
- Upload 6–15 clear selfies or portrait photos with:
- Good lighting
- No heavy filters
- Different angles and expressions
- Follow the tips from sections 1–3 above for best input quality.
- Upload 6–15 clear selfies or portrait photos with:
Select your style and background
In the HeadshotVIP interface:- Pick a business-focused style:
- Corporate
- Startup / Founder
- Executive
- Creative professional
- Choose a neutral or branded background (plain, gradient, or office).
- Pick a business-focused style:
Generate your AI professional headshots
- Confirm settings and start generation
- HeadshotVIP’s AI creates a model of your face and applies professional lighting and composition
- Wait for the process to complete (typically minutes, not days)
Review, refine, and download
- Browse all generated options
- Mark favorites that best match your brand and industry
- If needed, do light adjustments (crop, brightness, contrast)
- Download high-resolution images ready for LinkedIn, resumes, and websites
Advantages:
- ✅ Business-first styles (LinkedIn, corporate, startup, executive, creative) tuned for professional use
- ✅ Identity consistency modeling keeps your face, features, and expressions looking like you across multiple headshots
- ✅ Intelligent lighting & background reconstruction to mimic studio-quality looks from simple selfies
- ✅ Team consistency: generate matching headshots for entire teams or companies in one visual style
- ✅ Privacy-focused: images processed with a strong emphasis on secure handling and professional use, not gimmicky filters
HeadshotVIP doesn’t try to turn you into a cartoon or fantasy character. It focuses on credible, career-safe business portraits.
Method 2: Using general-purpose tools (like Canva or Aragon)
You might already be using tools such as Canva’s free AI headshot generator or Aragon.ai. These are solid options, especially if you’re experimenting or want access to lots of backgrounds and fun styles.
How this usually works:
- Go to the tool’s site or app
- Upload your selfie(s)
- Pick a “professional” or “LinkedIn” style
- Let the AI generate multiple variants
- Use built-in editors (background remover, Magic Eraser, bokeh, etc.) to clean up distractions
- Export your favorite image
Pros:
- Easy to use with familiar interfaces
- Often integrated with other design tools (great for resumes, social posts, presentations)
- Can be cheap or even free for a limited number of AI headshots
Cons (and where HeadshotVIP shines):
- ❌ Many tools are general-purpose; “professional headshot” is just one of hundreds of templates
- ❌ Results can be inconsistent across images—different lighting, slightly different faces
- ❌ Less focus on team-wide consistency for company websites
- ❌ Some tools emphasize fun or highly stylized looks over strictly professional ones
HeadshotVIP, by contrast, is built specifically for professional AI headshot creation. If your main goal is a LinkedIn-ready or resume-ready photo (not avatars or experimental looks), you’ll usually get more usable photos per session with a business-focused tool.
7 expert tips to make any AI-generated headshot look truly professional
To recap the most important advice in one place:
Feed the AI high-quality selfies
Clear, well-lit, front-facing photos with no heavy filters will drastically improve realism.Dress like your next role, not your last one
Pick outfits that match where you want your career to head—corporate, startup, or creative.Use intentional posing and expressions
Eye-level camera, good posture, and a relaxed, confident smile are your best friends.Treat style settings and prompts as your “photo brief”
Ask for neutral backgrounds, soft studio lighting, and realistic skin—avoid over-editing prompts.Choose simple, non-distracting backgrounds
Plain, gradient, or softly blurred office scenes look the most professional for LinkedIn and CVs.Edit lightly to remove AI glitches, not your identity
Fix small issues (blemishes, exposure, minor artifacts), but keep your real face and features.Match your crop to the platform
Square or 4:5 for LinkedIn, consistent aspect ratios and background for team/website use.
If you follow these steps, you’ll get better results no matter which generator you use—but pairing them with a business-focused tool like HeadshotVIP makes the process faster and more reliable.
Summary
A professional AI-generated headshot in 2025 is less about magic and more about good inputs, smart choices, and light refinement. With the right selfies, clothing, pose, and style settings, AI can produce headshots that look as polished as a studio session—at a fraction of the price and time.
HeadshotVIP is designed specifically for this use case: LinkedIn-ready, resume-friendly, business-focused portraits for individuals and teams. Combine the 7 tips in this guide with HeadshotVIP’s styles and identity modeling, and you’ll have headshots that feel both professional and genuinely like you.
Try HeadshotVIP Now:
- Starter: $6.99 – perfect for a new LinkedIn or CV headshot
- Professional: $9.99 – more styles, higher resolution, and extra variety
Related Articles
- best-ai-professional-headshot-generator-for-linkedin-2025.md
- ai-professional-headshot-branding-guide-2025.md
- ai-headshot-generation-privacy-protection-guide-2025.md
Current Date: 2026-01-16